In The Know Blog
DIY Bong Building: A 4/20 Survival Guide
Apr
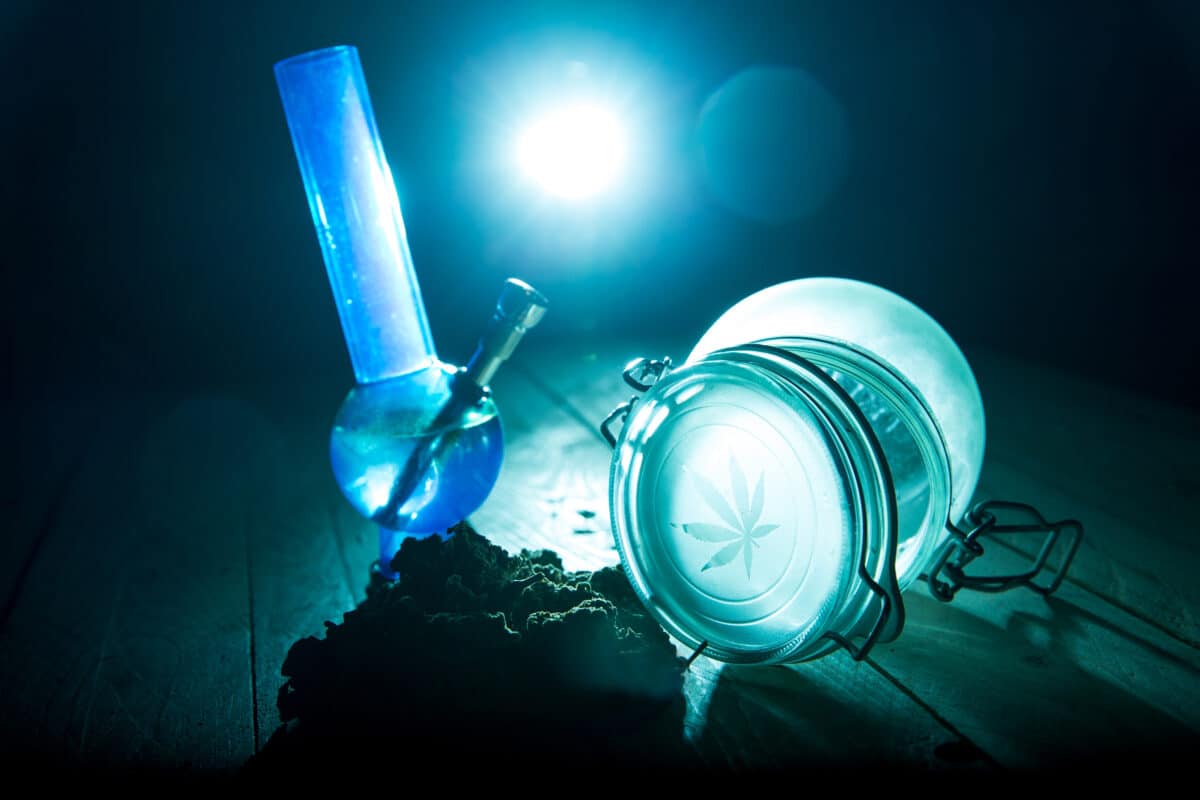
It’s 4/20, and you’re missing a bong. Don’t worry, you don’t have to break the bank (or your mom’s rules) to get one. Skyhio knows a thing or two about bong builds—and about the creativity that comes with them. We get a lot of questions about how to conveniently smoke our THCA flower.
That’s where DIY bong building comes in. Not only will you save some cash, but you’ll also get to experiment with different designs and add a personal touch to your smoking experience. Plus, using recycled materials is a pretty cool way to be eco-friendly.
Let’s break down the basics of bong anatomy. You’ve got your base (where the water lives), downstem (connecting the bowl to the water chamber), bowl (where you pack your flower or concentrate), carb (optional, but nice to have), and mouthpiece (where you inhale the smoke). Understanding these components will help you create a design that actually works.
Now, onto the fun part: DIY bong ideas. We’ve got four tried-and-true methods to get you started.
Introduction to DIY Bong Building
Welcome to the world of DIY bong building! Creating your own bong can be a fun and rewarding experience, allowing you to customize your smoking experience to your liking.
With just a few household items, you can create a functional and unique bong that suits your needs. In this article, we’ll guide you through the process of building your own bong, from understanding the basics to troubleshooting common issues.
Understanding Bongs and Water Pipes
A bong, also known as a water pipe, is a popular smoking instrument that uses water to filter and cool the smoke before inhalation. The primary feature of a bong is the water reservoir, which can be made from various materials such as glass, plastic, or ceramic.
Bongs come in all shapes and sizes and can be made from a variety of materials, including recycled materials. Understanding how a bong works is essential to building your own, so let’s dive into the basics.
Choosing the Right Materials
When it comes to building your own bong, choosing the right materials is crucial. You can use common household items such as plastic bottles, glass jars, and PVC pipes to create a functional bong. Aluminum foil can also be used to create a downstem, which is an essential component of a bong.
When selecting materials, consider their durability, safety, and ease of use. You can also get creative and use recycled materials to save money and add a personal touch to your bong.
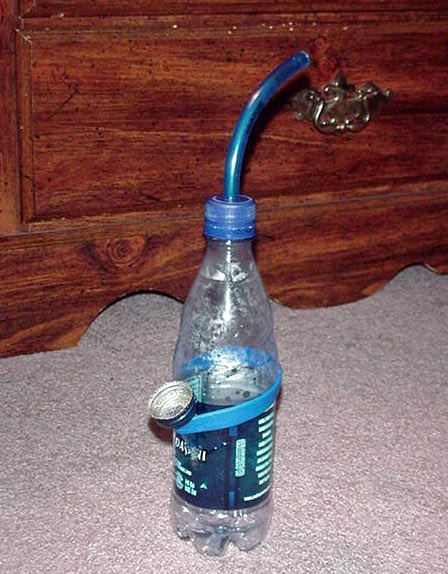
1. The Classic Plastic Bottle Bong
This one’s a crowd-pleaser because it’s quick, easy, and requires minimal tools. You can whip one up in no time.
You’ll need:
- An empty plastic bottle
- Aluminum foil
- A pen (for the downstem)
- Scissors or a knife
- Water
Here’s how you do it:
- Rinse the bottle thoroughly.
- Use scissors or a knife to poke two holes in the bottle: one for the downstem and a second hole for the carb just above the waterline.
- Take apart the pen to create a hollow tube for the downstem. Shape aluminum foil into a small bowl and poke a few holes in it for airflow.
- Attach the foil bowl to one end of the pen tube and insert it into the bottom hole.
- Fill the bottle with enough water to submerge the bottom of the downstem.
- Pack your bowl, light it up, and enjoy!
Pro tip: Use duct tape to seal any gaps around the holes for better functionality.
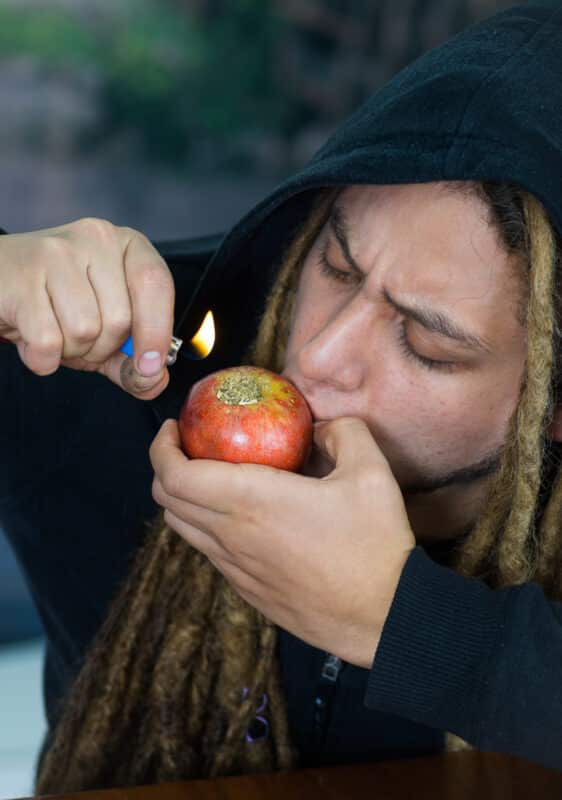
2. Fruit Bong
If you want a flavorful twist, try making a bong out of fruit like apples or pineapples. It’s a fun way to mix things up.
You’ll need:
- A sturdy fruit (e.g. apple)
- A knife
- A pen or skewer
Here’s what you do:
- Carve out a bowl-shaped indentation at the top of the fruit.
- Use a pen or skewer to create two holes: one from the top (bowl) through to the side (mouthpiece) and a second hole on the side for airflow control (carb).
- Pack your flower into the bowl, light it up, and inhale through the mouthpiece.
3. Gravity Bong
If you’re looking for powerful hits, this is your best bet.
You’ll need:
- A large plastic bottle
- A smaller plastic bottle or bucket
- Aluminum foil
- Scissors
Here’s how you do it:
- Cut off the bottom of the smaller bottle.
- Fill the larger bottle or bucket with water.
- Create a bowl using aluminum foil and place it over the mouthpiece of the smaller bottle.
- Submerge the smaller bottle in water, light your flower, and slowly lift it to fill with smoke.
- Remove the foil bowl, place your mouth over the opening, and push down on the smaller bottle to inhale.
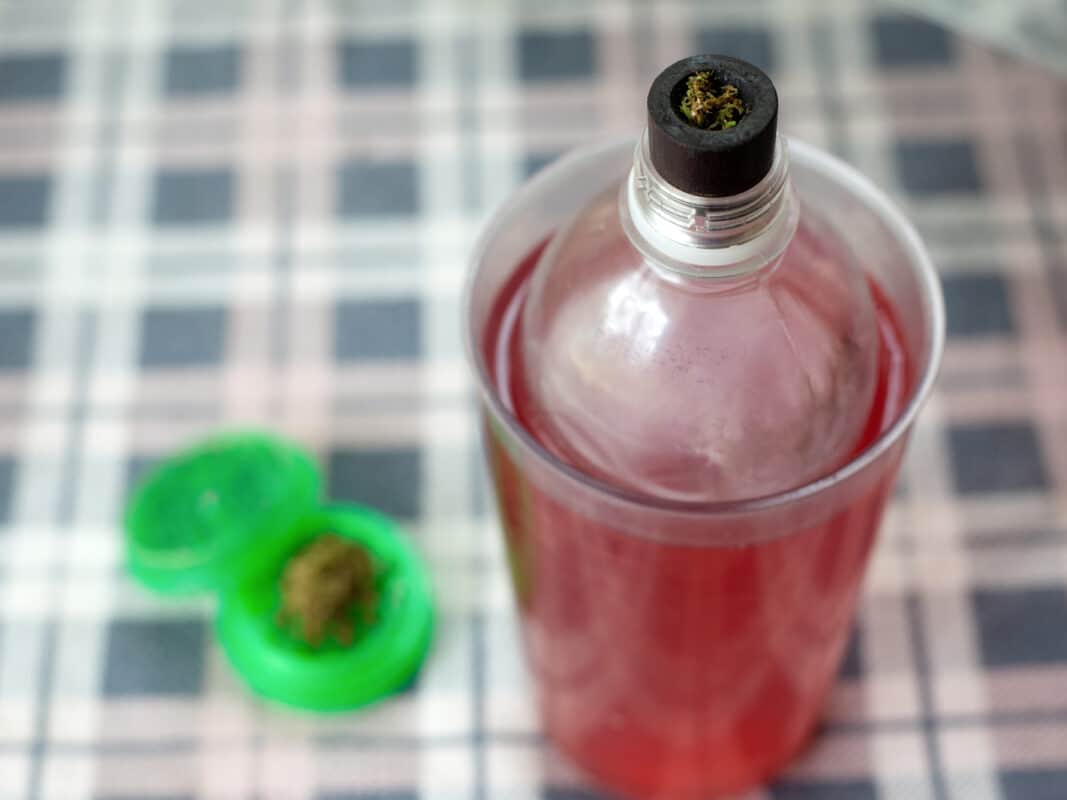
4. Mason Jar Bong
For those who prefer glass over plastic, this option is both durable and stylish.
You’ll need:
- A mason jar
- A metal straw or pen tube
- Aluminum foil
- Duct tape
Here’s what you do:
- Drill or poke two holes in the jar lid: one for the downstem and a second hole for airflow control (carb).
- Attach a metal straw or pen tube to the bowl, and insert it into the bottom hole.
- Fill the jar with enough water to submerge the bottom of the downstem.
- Pack your bowl, light it up, and enjoy!
When you’re crafting your own bong, you’ll want to start by inserting your metal straw or pen tube into one hole and securing it with some duct tape. Next, create an aluminum foil bowl and attach it to the other end of your downstem.
Fill the jar with water, assemble your bong—and you’re ready to go.
Tips for Crafting Your DIY Bong
A few tips to keep in mind when you’re building your bong: non-toxic materials are a must, so you don’t release any nasty fumes when you heat it up. Make sure all those connections are airtight-sealing any gaps with tape or gum will do the trick. And before you use it for real, test it out by taking a few hits without lighting anything.
Cleaning your bong regularly is pretty essential for a better smoking experience. Rinse it out after each use to prevent resin from building up. For a deeper clean, use isopropyl alcohol and some coarse salt to scrub away any residue. Let all the parts dry completely before you reassemble.
Troubleshooting Common Issues
Common issues with DIY bongs include clogging, leaks, and poor airflow. To troubleshoot these issues, check the following:
- Make sure the downstem is properly aligned and not clogged with debris.
- Check for any blockages in the water reservoir or mouthpiece.
- Ensure that the bong is properly sealed and not leaking.
- Adjust the airflow by making small holes or adjusting the carb.
By following these tips and troubleshooting common issues, you can ensure a smooth and enjoyable smoking experience with your DIY bong.
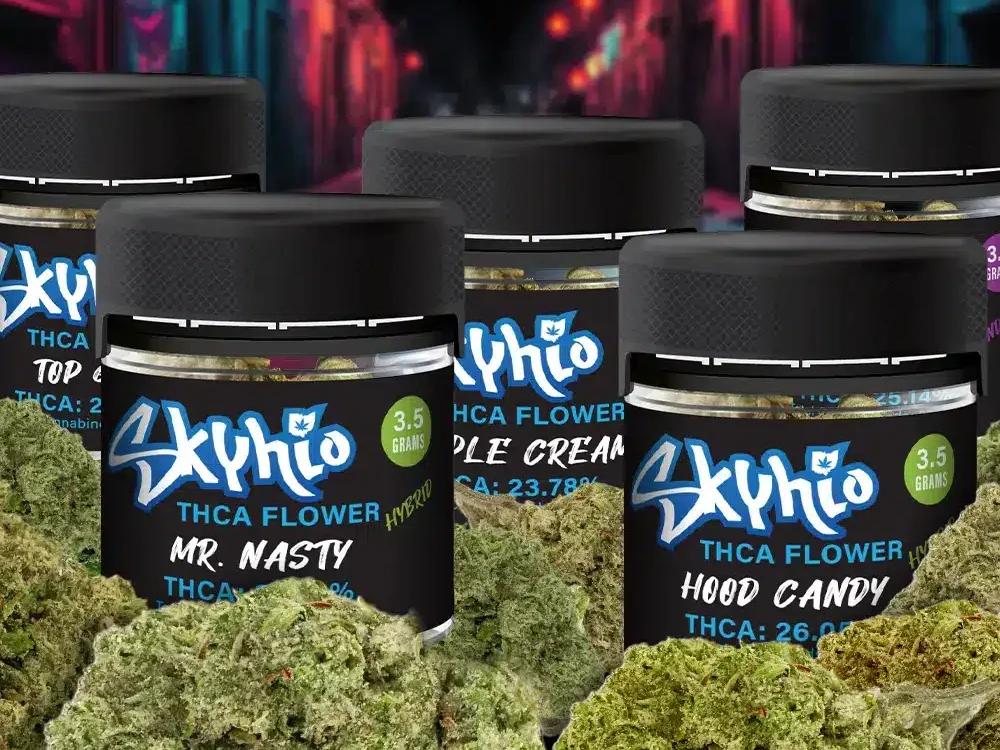
Why Choose Skyhio?
At Skyhio, we love that you’re experimenting with your own bong designs. Our premium THCA products—like concentrates and flowers—are the perfect match for any bong, whether you built it yourself or not. We want to make sure you have an amazing smoking experience every time.
That’s what building your own bong is all about: exploring different shapes, materials, and techniques and adding a personal touch to your smoking sessions. So grab some household items, unleash your creativity make this 4/20 one to remember.
We’d love to have you as part of our community. For more tips like these—and exclusive discounts—subscribe to our newsletter today.